Using Mergin Maps Mobile App
In the last tutorial we created a new Mergin Maps project in QGIS with layers for surveying trees and hedges. You'll now learn how to:
- Open the QGIS project in Mergin Maps mobile app
- Switch between layers to capture new point and linear features
- Sync and save your data to Mergin Maps cloud
Need help navigating the mobile app?
Mergin Maps mobile app interface contains the overview of the features and functionality of the mobile app.
Opening the project on your mobile device
Open Mergin Maps mobile app on your mobile device
Go to the Projects tab. Here, you can see a list of projects in your workspace.
Download the trees-and-hedges project.
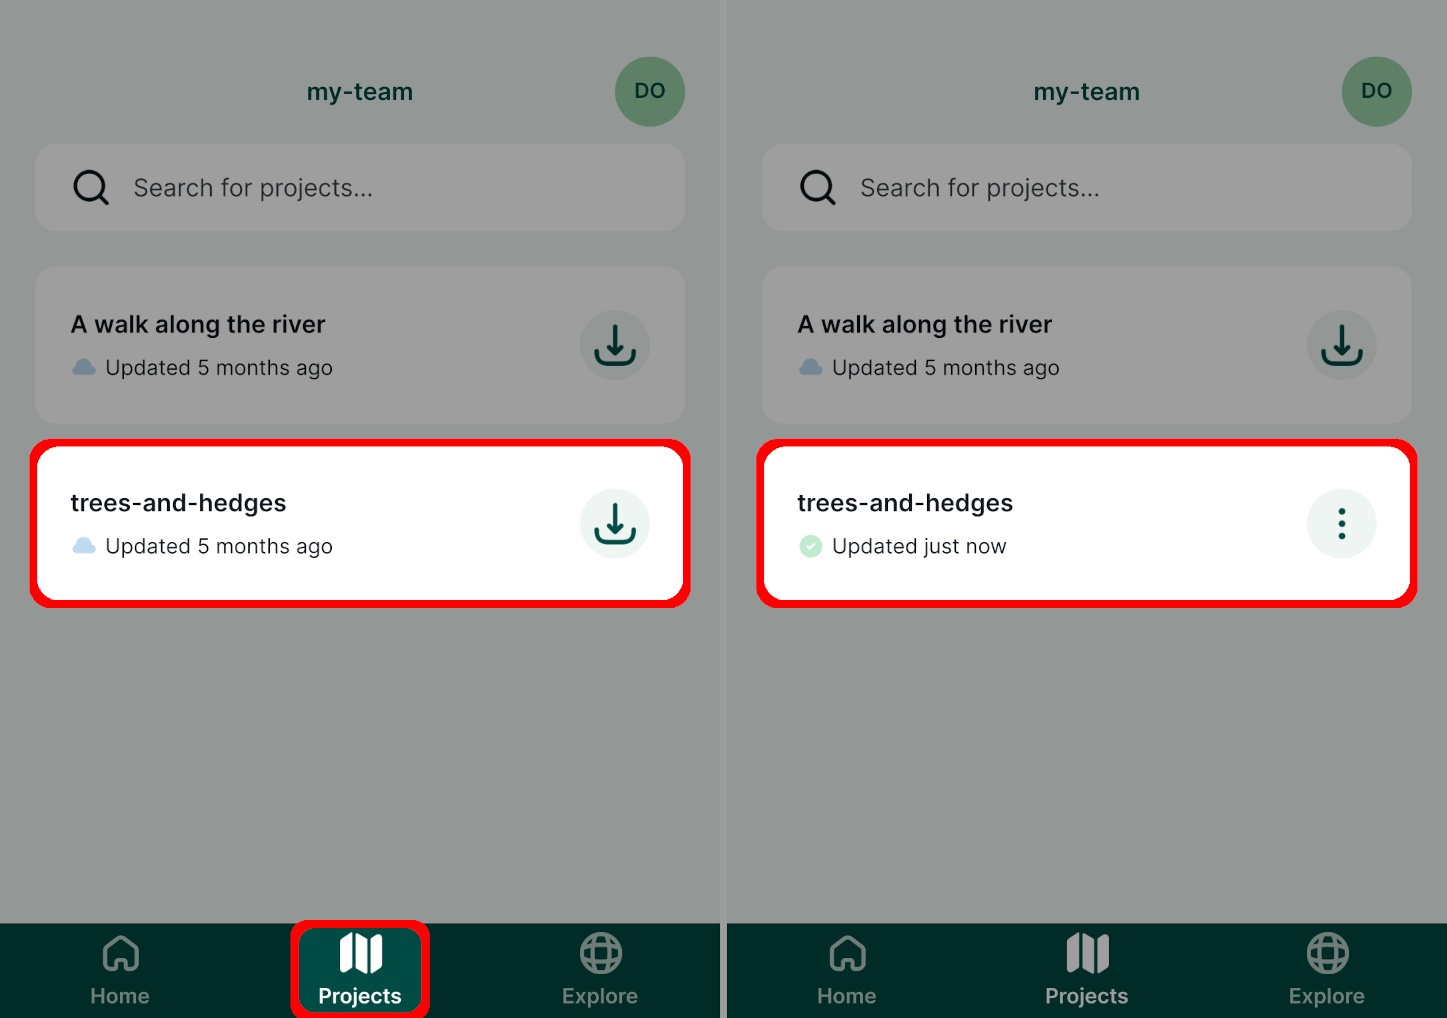
Projects that are downloaded to your mobile device are listed in the Home tab.
Tap the trees-and-hedges project to open it in the mobile app.
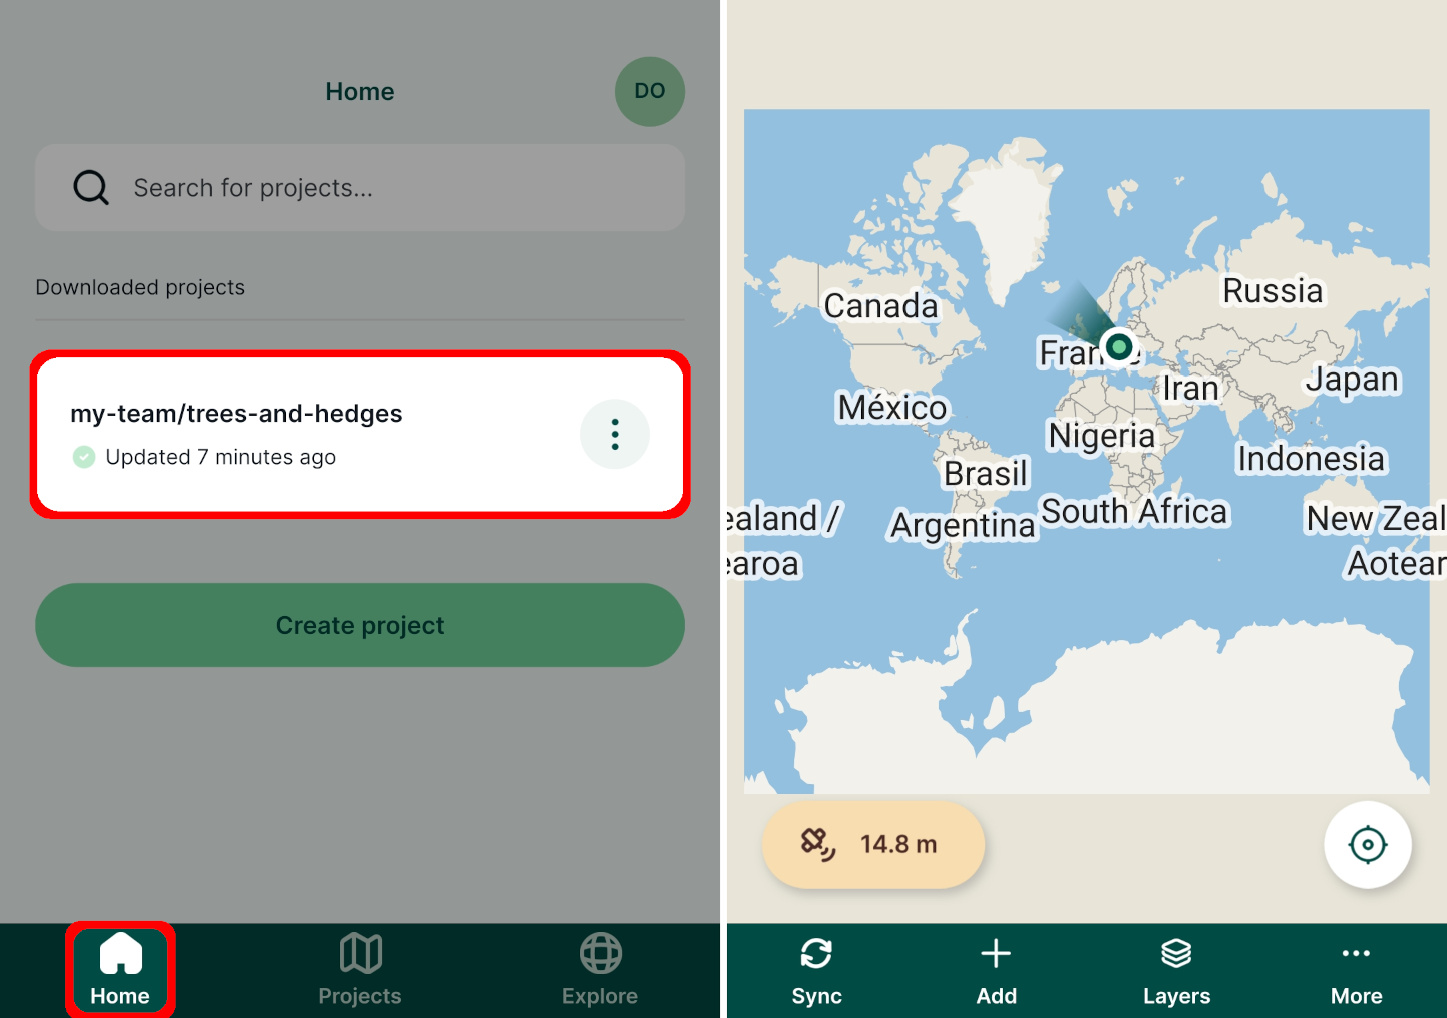
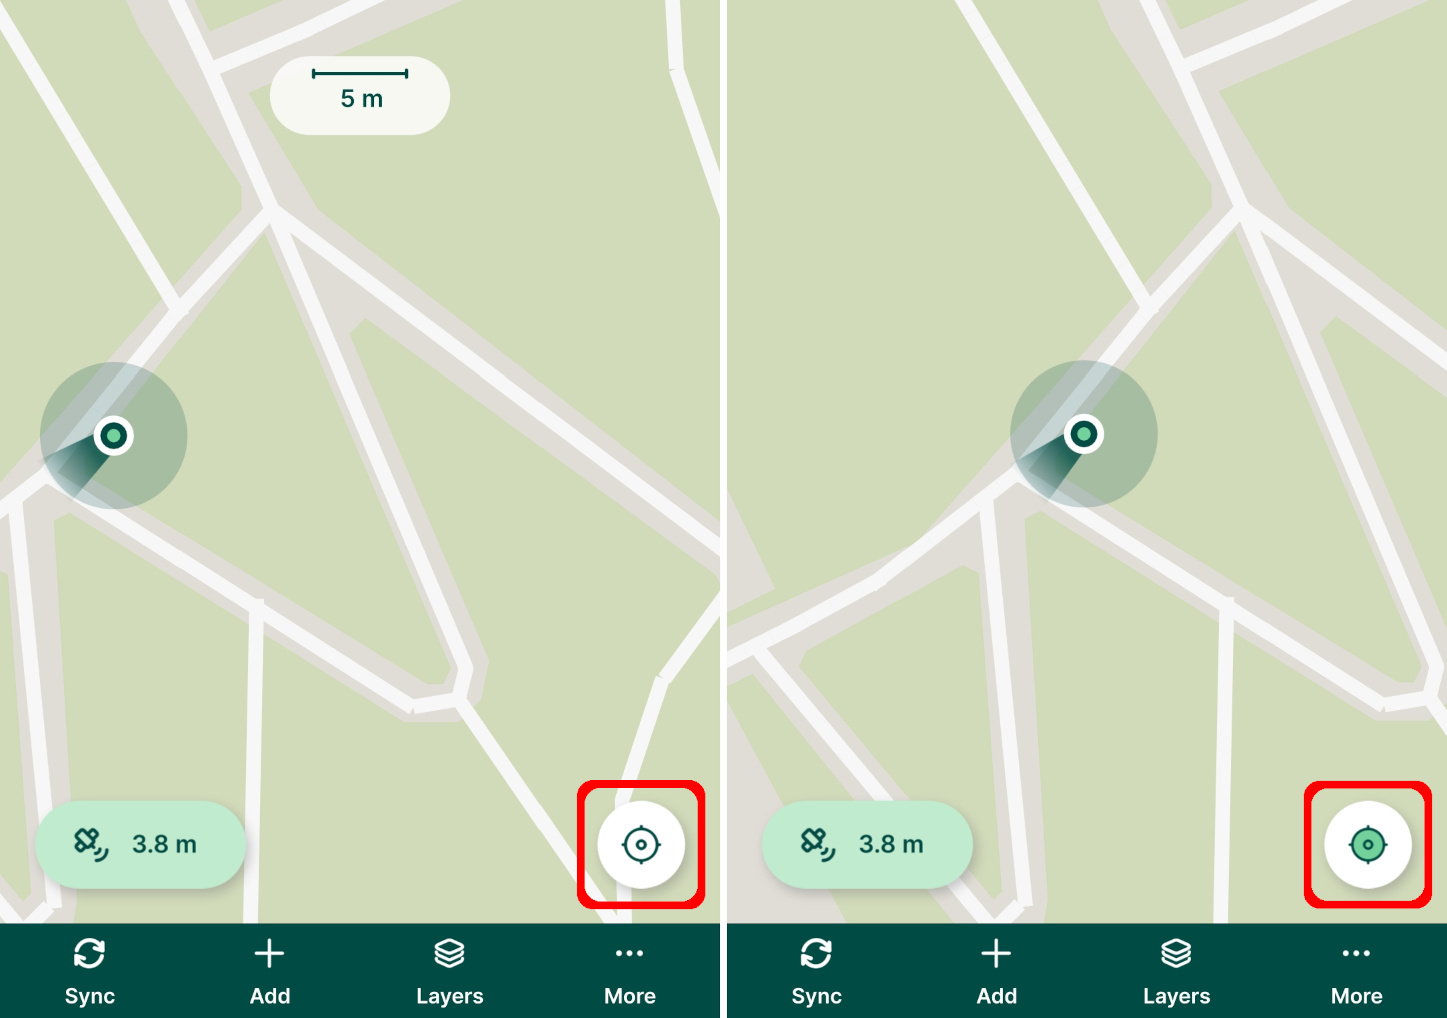
Pinch the screen to zoom in on your location. If you lose sight of your location, use the GPS button in the right corner of the map window to recentre the map on your position.
Location has to be enabled
To display your current position on the map, the location has to be enabled on your mobile device and the mobile app needs permission to use it.
GPS accuracy
Current GPS accuracy affects the quality of field data that you capture in the field and how accurately is your position displayed on the map.
The estimated uncertainty of your current position is displayed around the position marker. Current GPS accuracy is reported in the bottom left corner of the map window. Tap it to get more information about current GPS status.
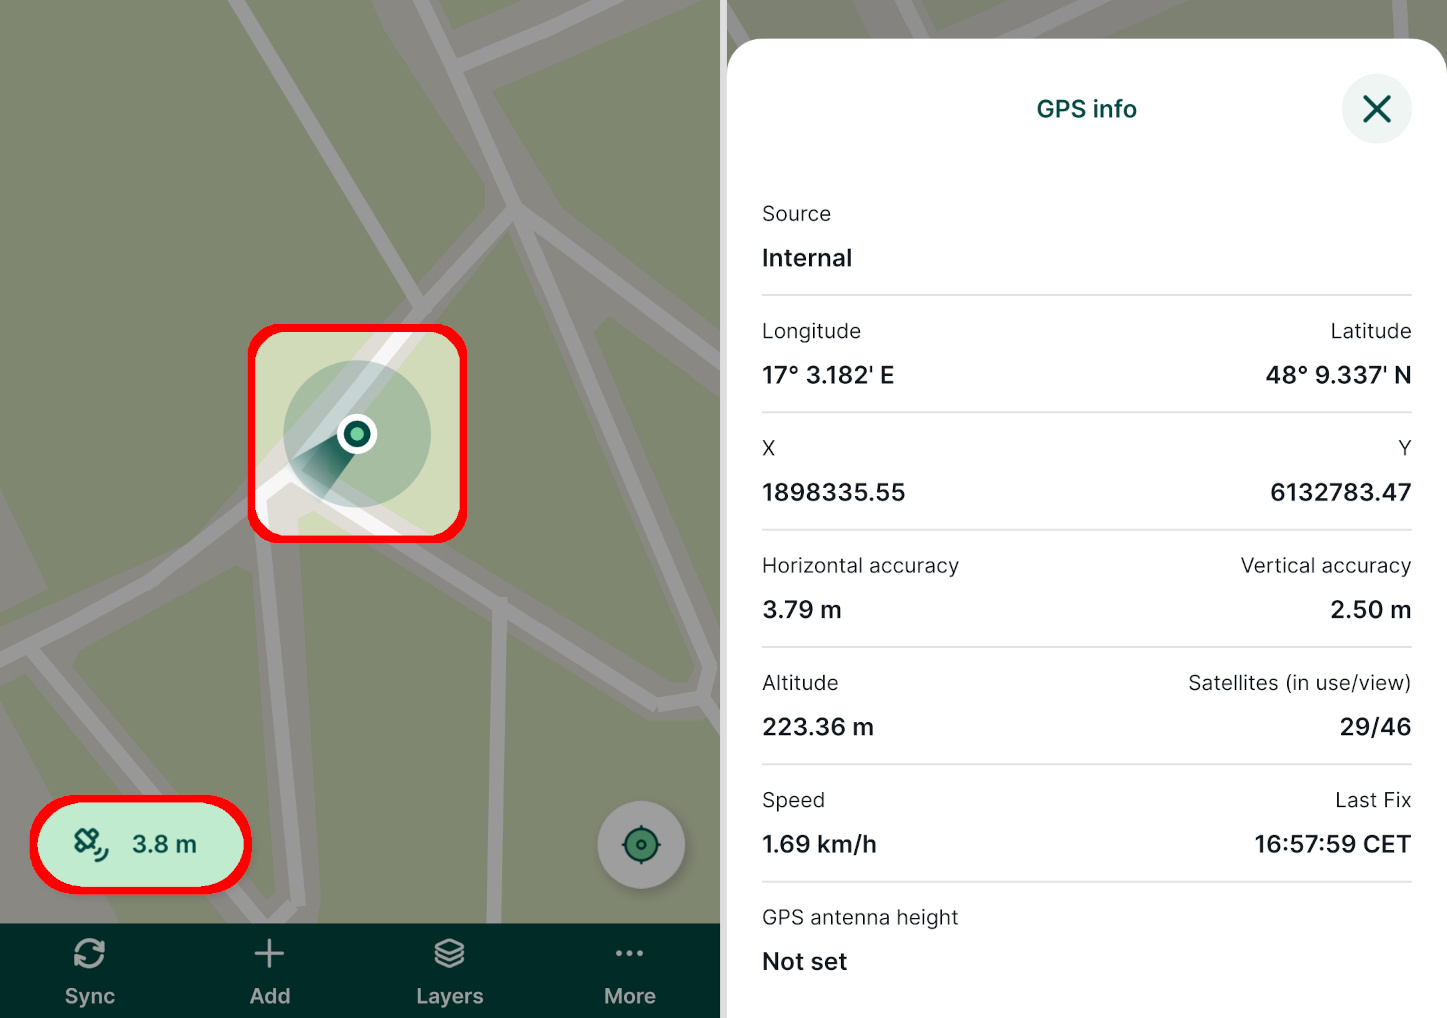
The mobile app uses colours to report whether the GPS accuracy falls within the defined threshold (green) or if it is outside of defined threshold and captured position can be inaccurate (orange). The threshold can be changed in the Settings.
Understanding GPS accuracy
GPS accuracy provides more detail about this topic.
The active layer
In a moment we'll survey a tree. Surveyed features are added to the active layer. The project contains three different layers so we'll now ensure the trees layer is set as the active layer.
Press the Add button to enter the recording mode.
Current active layer is displayed on the top of the map window.
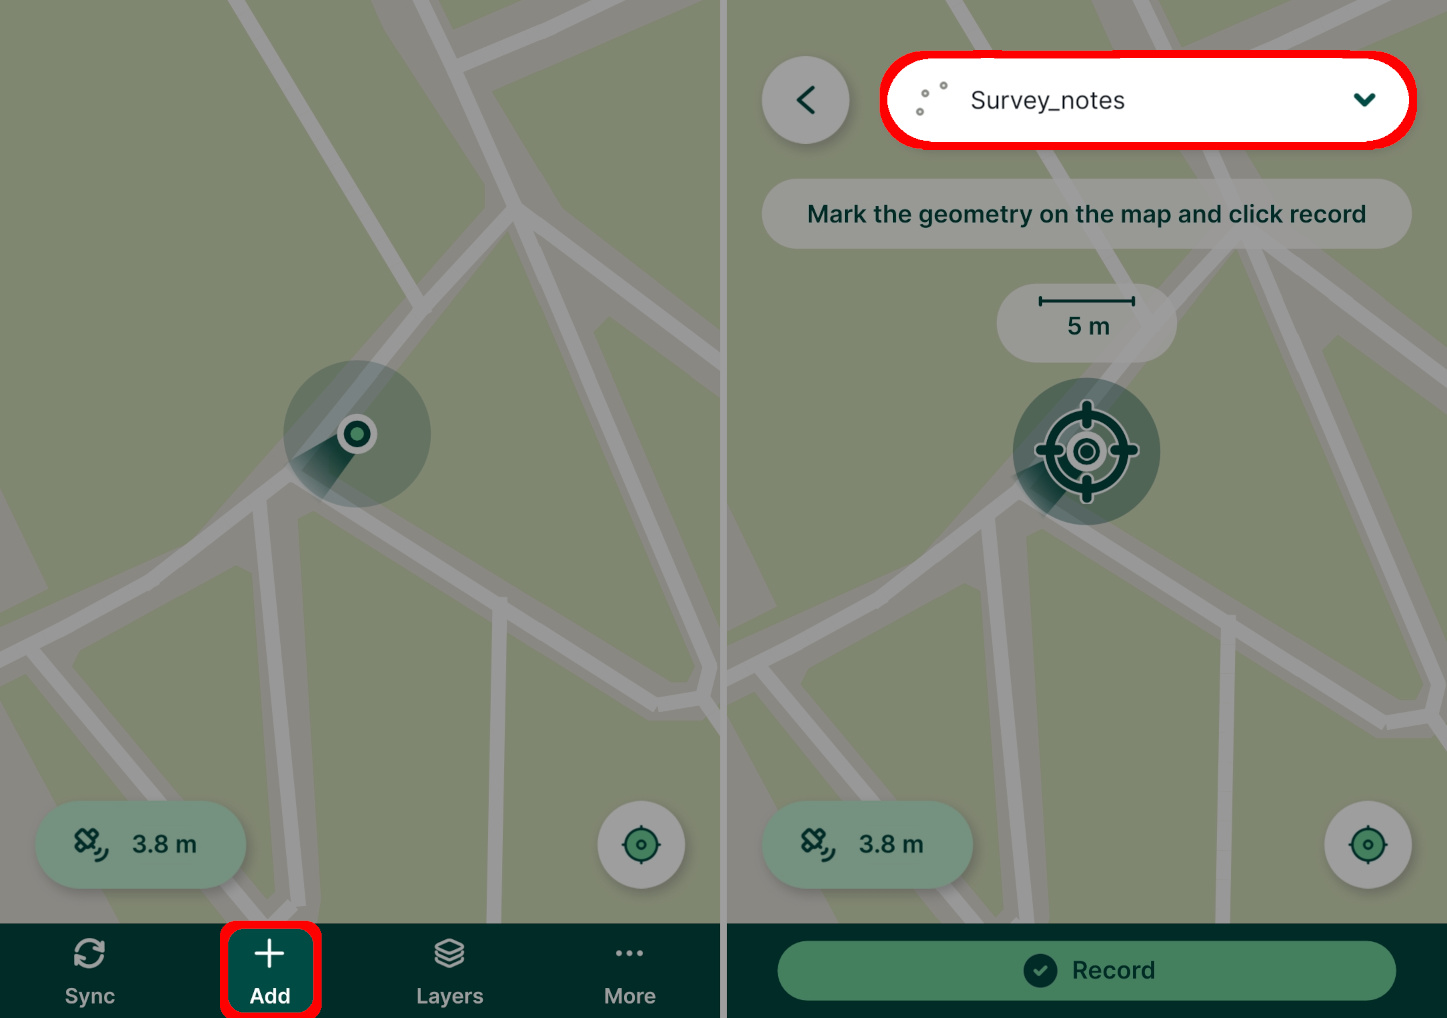
Tap the active layer and set it to trees.
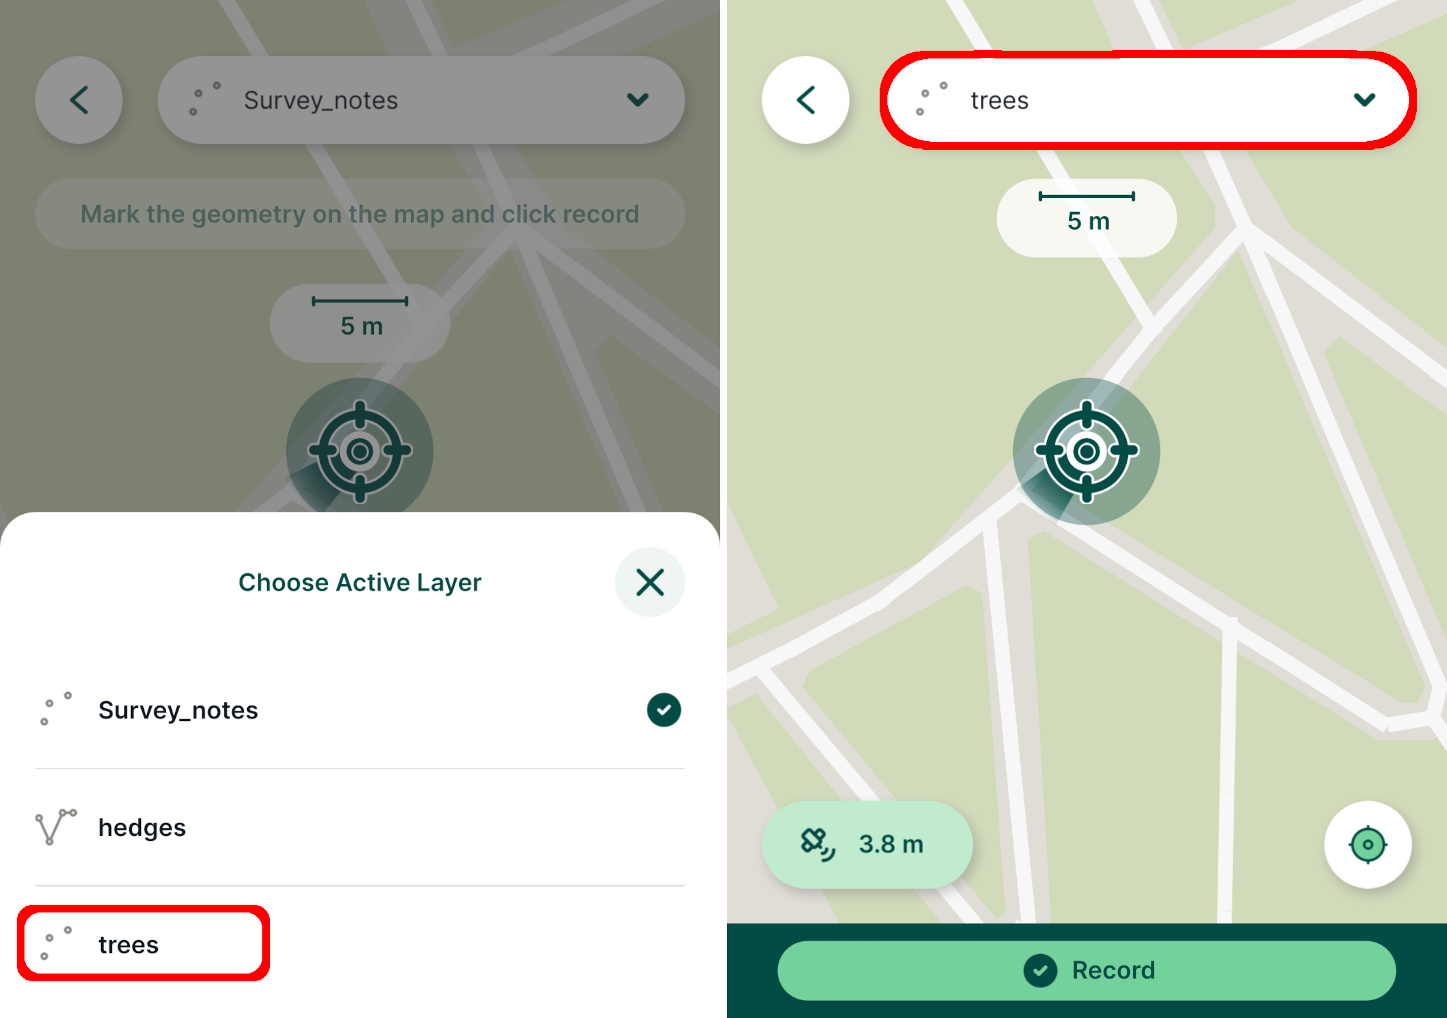
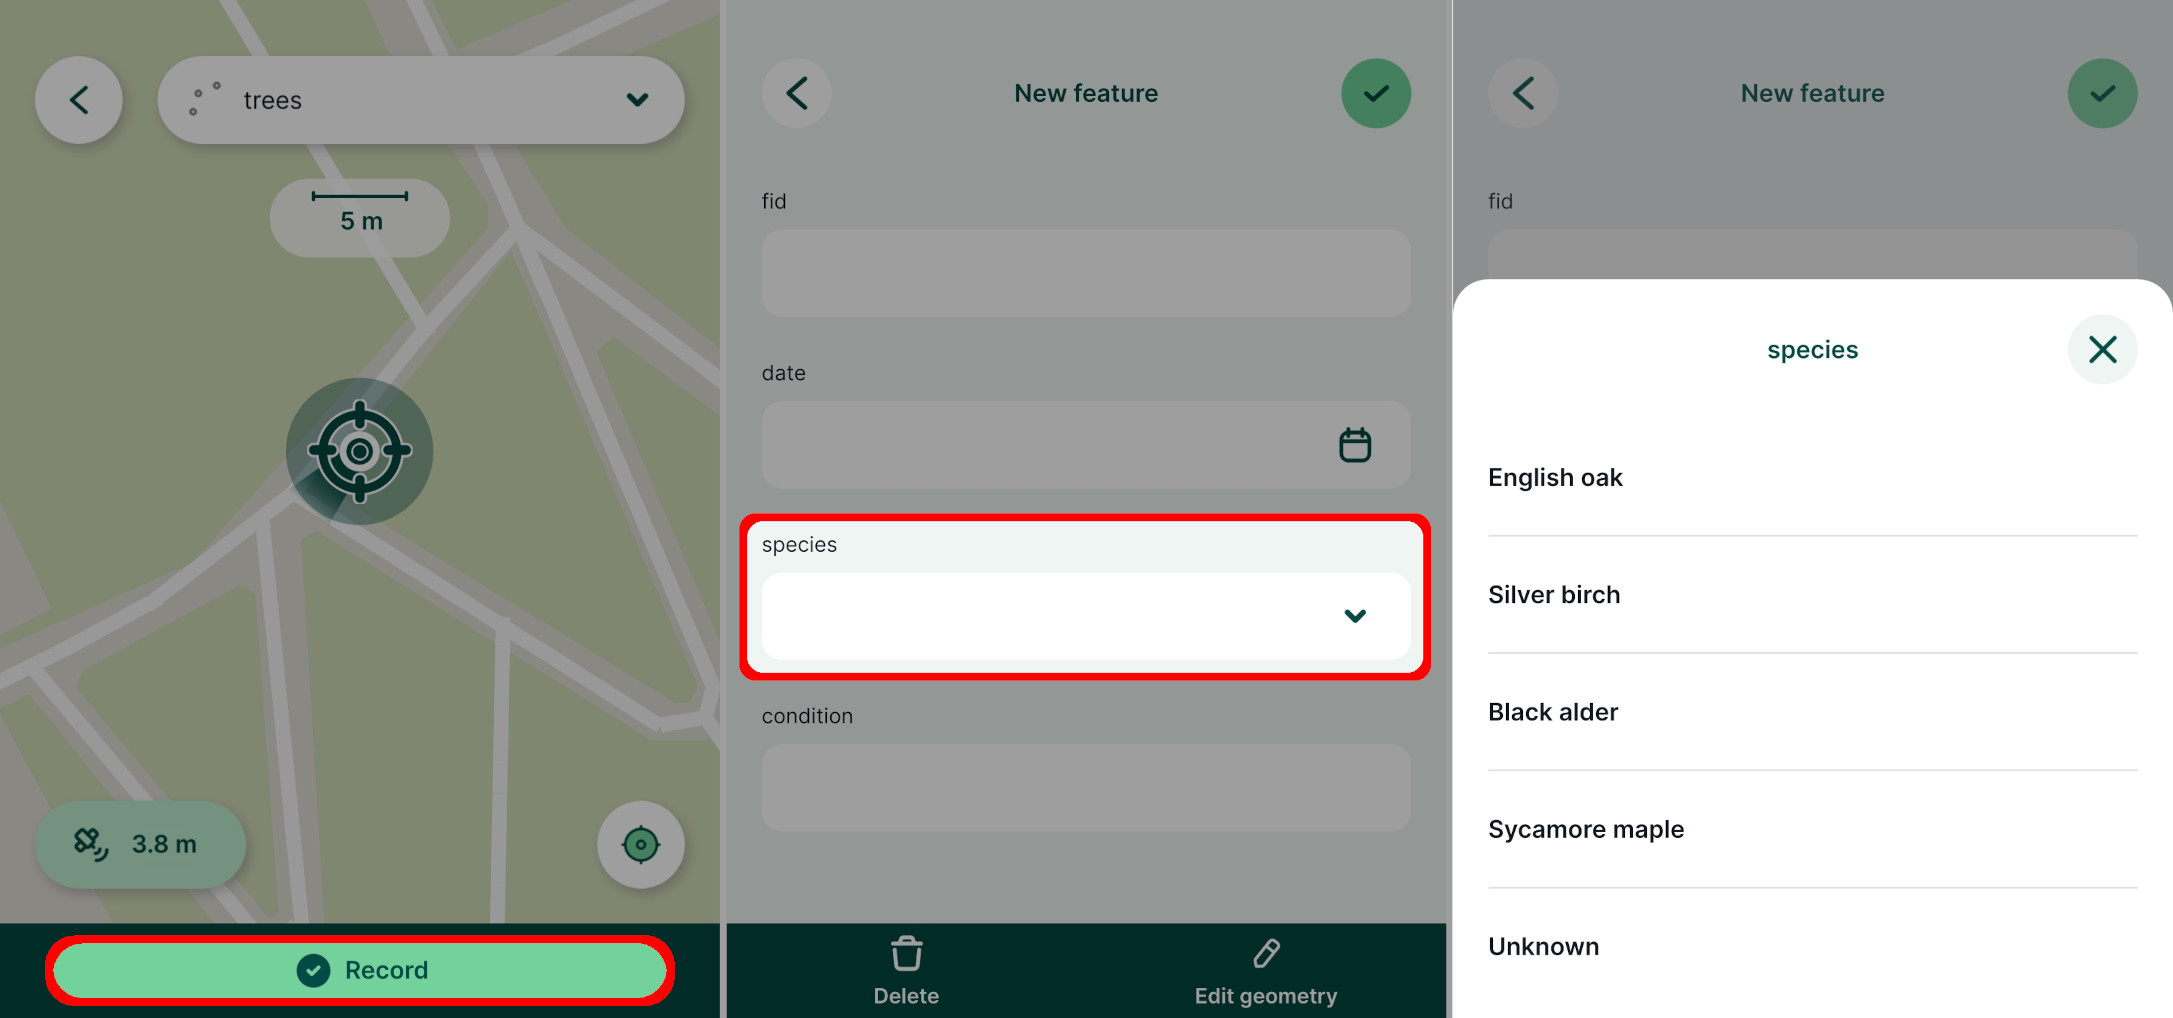
Now we can survey a new tree by tapping the Record button.
Notice how the form reflects how we configured the species drop-down list in QGIS:
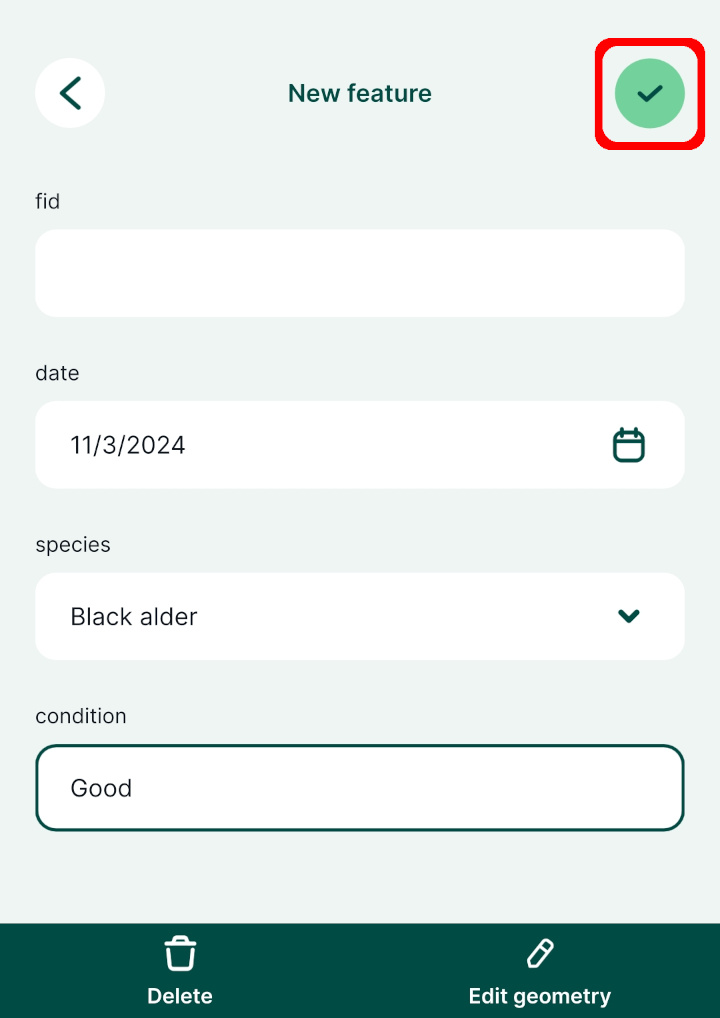
Fill in the form and Save ✔️ the new point
Editing features and the preview panel
Tapping a map feature shows its preview panel.
Tap a feature on the map.
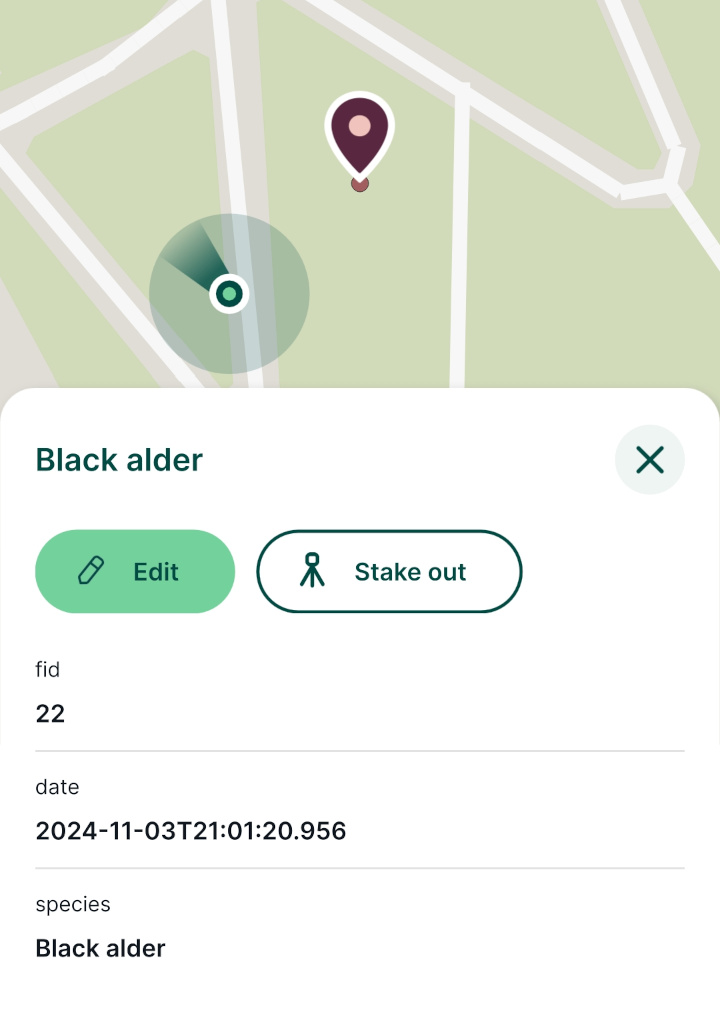
Information shown in the preview panel can be customised. We'll learn how in the next tutorial.
Experiment with editing the feature by tapping the Edit button.
Change the values in the form (e.g. the tree species) or use the Edit geometry button to modify the location of the feature.
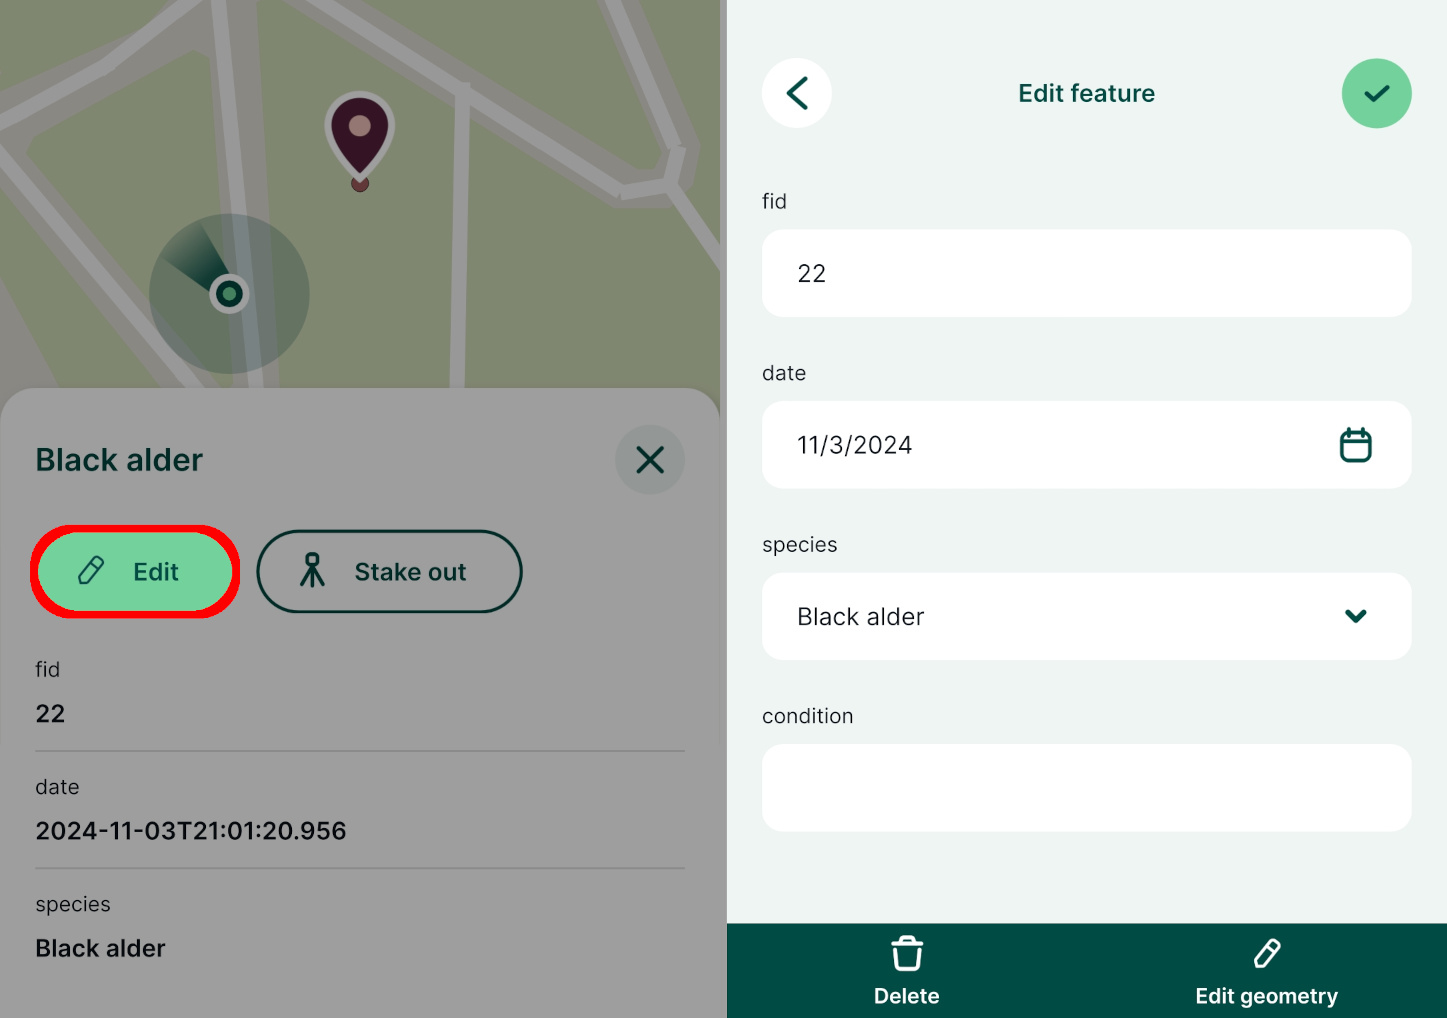
Survey linear features
When creating the project in QGIS, we included a layer for linear features called hedges. We'll now learn how to survey lines in the mobile app. Areas can be captured in a similar way to lines if the project has editable polygon layers.
More about capturing features
How to add, edit, delete features has more details about capturing and editing features in the mobile app.
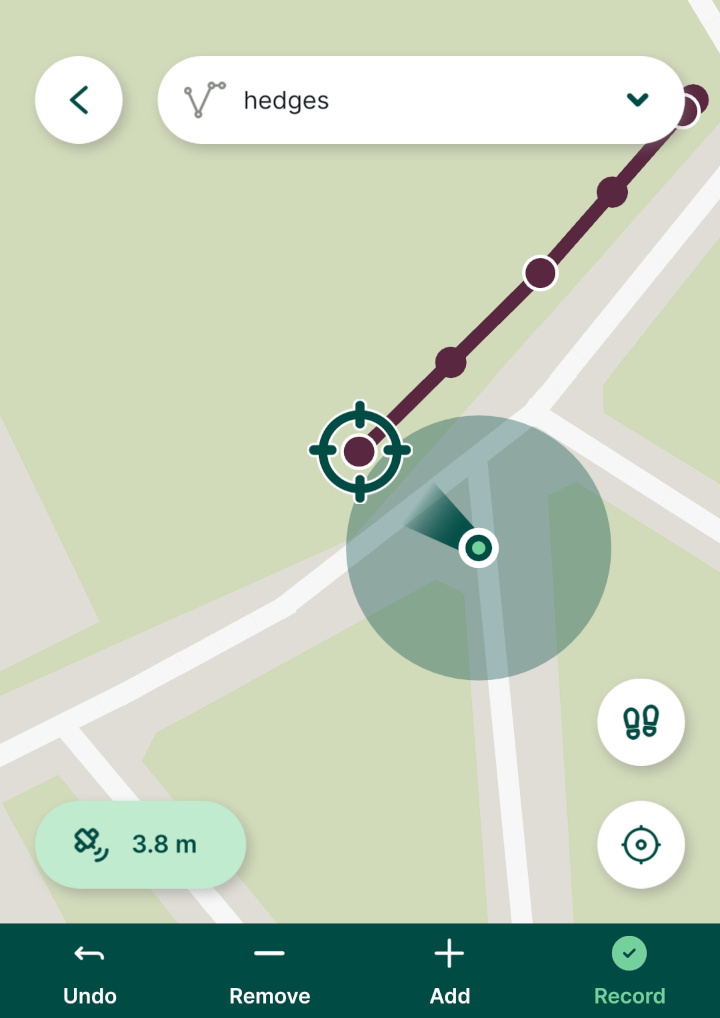
We'll now survey a hedge feature.
Set hedges as the active layer as described in the active layer section.
Use tools in the bottom panel to survey the line: use Add to add vertices along the line and tab the Record button when finished.
If needed, use Remove or Undo to change the feature's geometry.
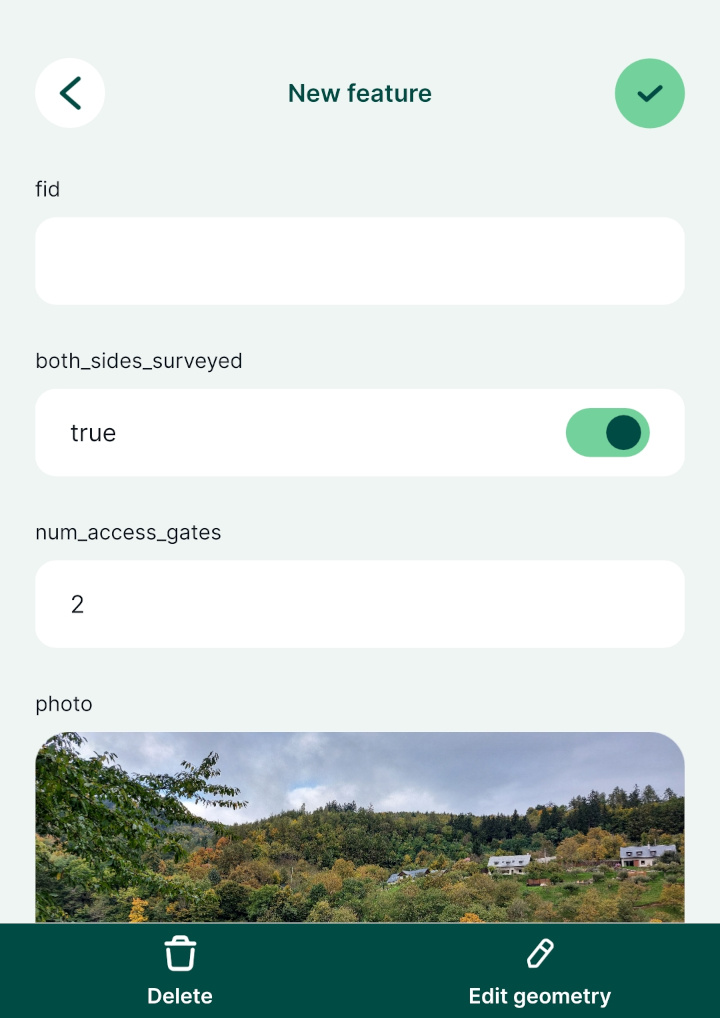
Enter some attributes and a photo for the hedge:
It may happen that the surveyed hedge can be quite difficult to distinguish from the background map. For instance here, the line is too thin and does not have the best colour.
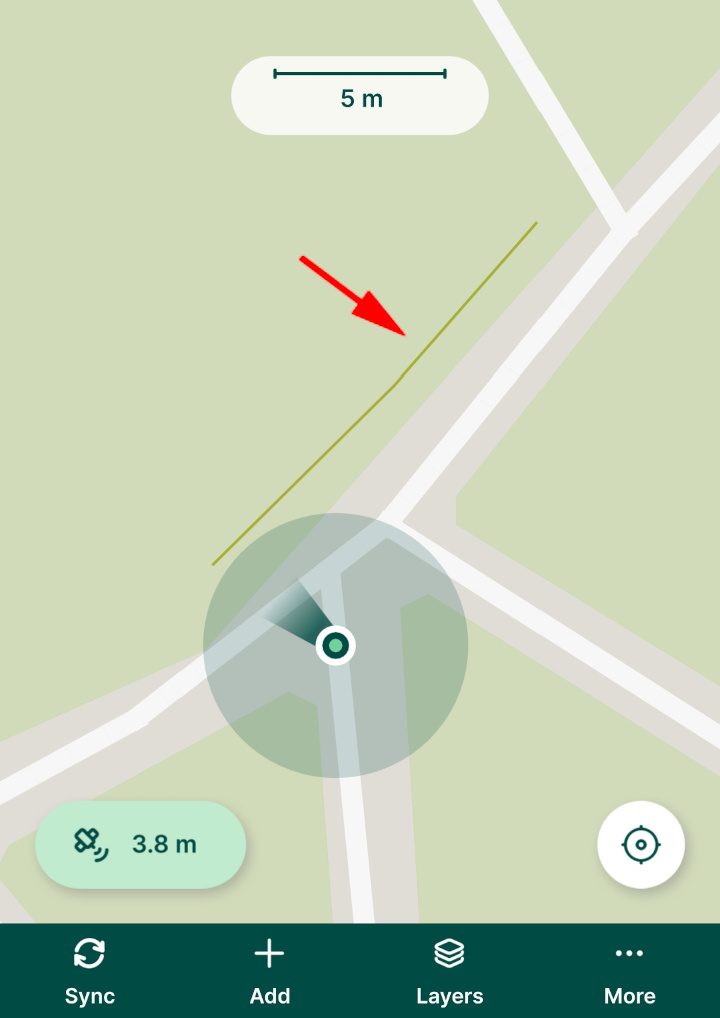
We will learn how to change layer styles in the next tutorial.
Saving data to the cloud
To conclude this tutorial we will save the data we just collected back to Mergin Maps.
Tap the Sync button in the bottom navigation panel and wait for notification about successful synchronisation.
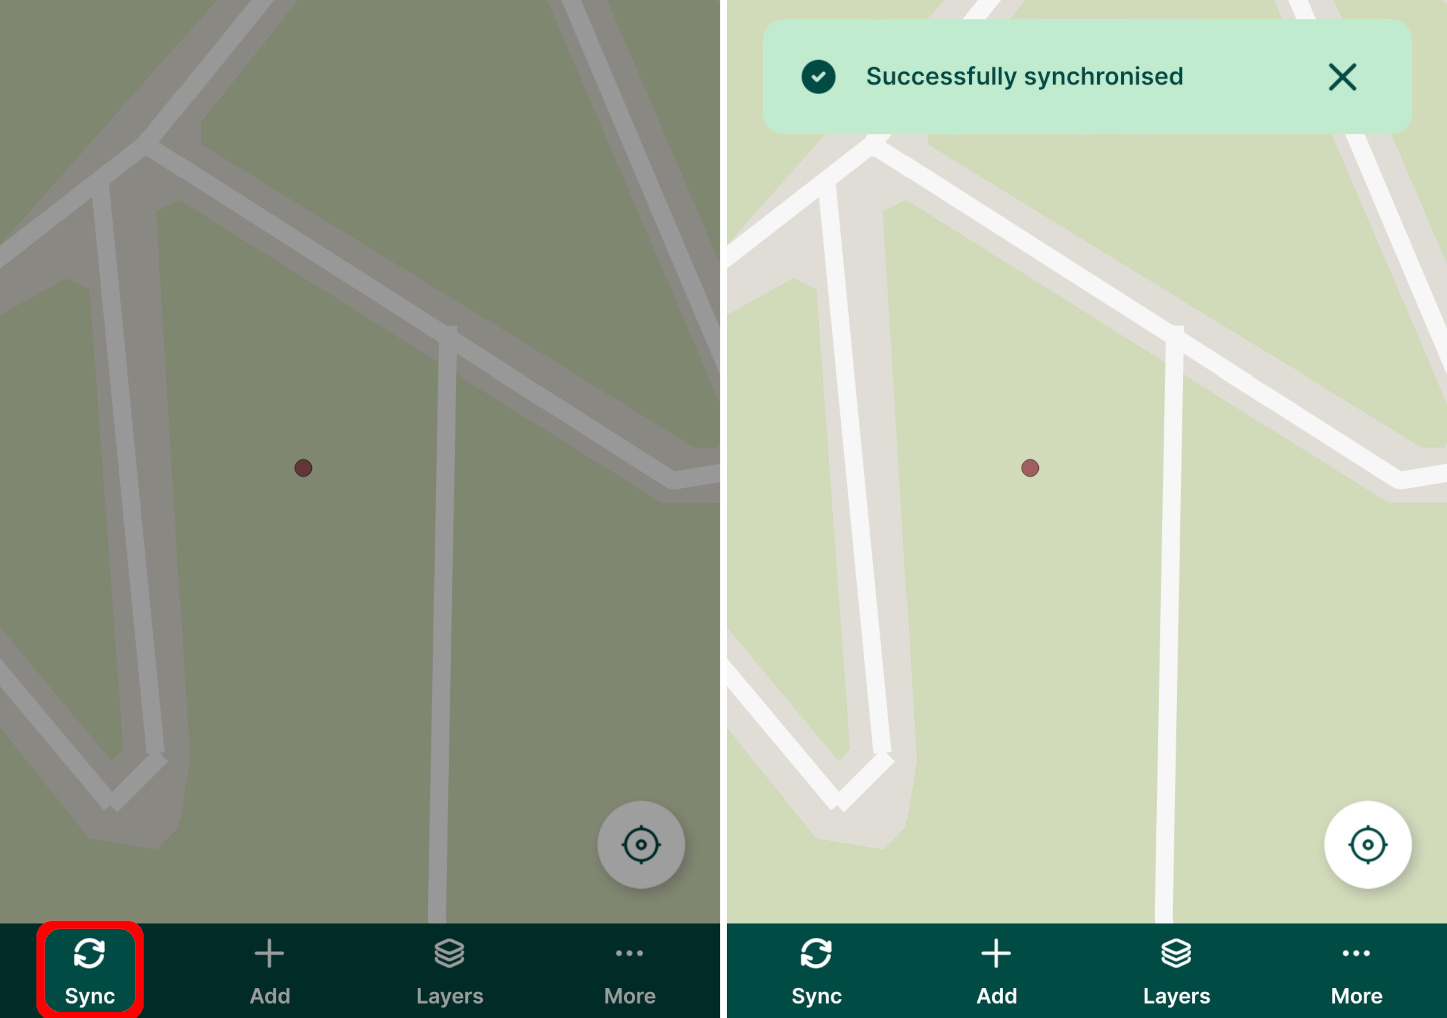
When the sync process has completed your data has been stored safely in the cloud.