We often have users who ask us to help them because their projects are taking too long to synchronise or their field workers are unable to download the project because it has gotten too big to fit on their mobile devices. We usually recommend that users limit their projects to 8GB. But what should you do if you need to reduce the size of your project without losing the data you have already collected? If you have ever run into this problem, then this article is for you!
Doing a project refresh
The best way to manage the size of your project is to do what we would call a ‘project refresh’. This is a way of stripping down the latest version of your project to remove any photo attachments and reduce the size of the project stored on the Mergin Maps server. This should improve the performance of the app on mobile devices and reduce the amount of time you have to wait for your project to sync. In the following tutorial, we will show you how to make a local backup of your project and then create a new project based on the backup with the attachments removed.
Step 1: Make sure the project is up to date
Before we do anything, we want to make sure that all of the contributors to the project have synchronised any changes to the project. This way we can make sure that all of the relevant data will be transferred to the new project. Once the users have synchronized their changes, make sure that they stop working on the existing project and then synchronise all of the changes to the project on your local device using the QGIS Plug-in.
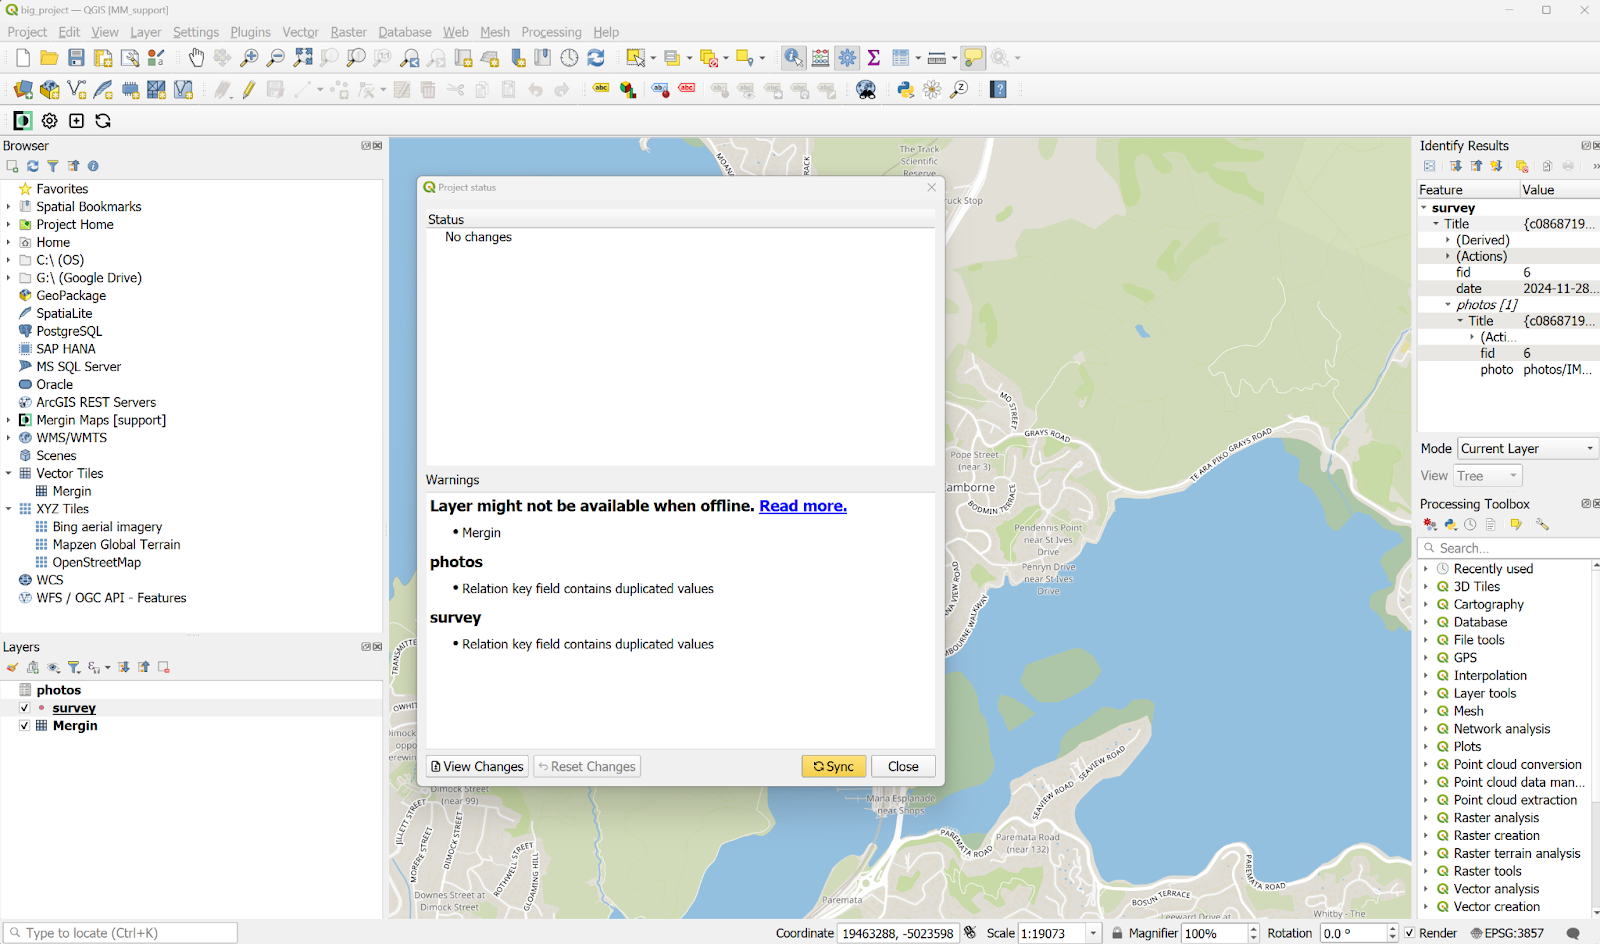
Step 2: Remove the project from the Mergin Maps server (optional)
In order to reduce the storage on your Mergin Maps account, you may want to remove the project from your Workspace. It is advised to remove the project using the web dashboard as this will not remove the local copy of the project from your laptop or PC. To do this, go to the Mergin Maps web dashboard and navigate to Projects>your_project>Settings and click the Delete project button. This will remove the project from your Mergin Maps Workspace. However, please be aware that this will remove the project history as well! Therefore you should consider if this will be a problem before you decide to do this step.

Step 3: Create a new copy of the project on your computer
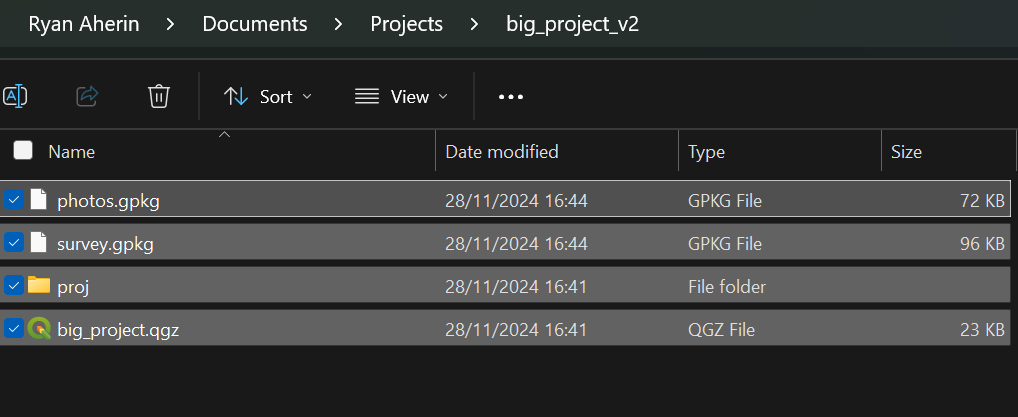
Using your file browser, navigate to the location where your project directory has been stored. In the example below, our project (big_project)is in the Projects folder. First, we make an empty folder for the new copy of the project, we have named this big_project_v2:

Once we have created the destination folder for the new project, we will open the original project folder, copy all of the contents with the exception of the .mergin and photos folders, and then paste everything in the new project folder. If you do not have all of your project photos stored in a separate folder, just exclude the image files when you copy the contents of the project folder to the new destination.

Step 4: Open the new copy in QGIS and check the data sources
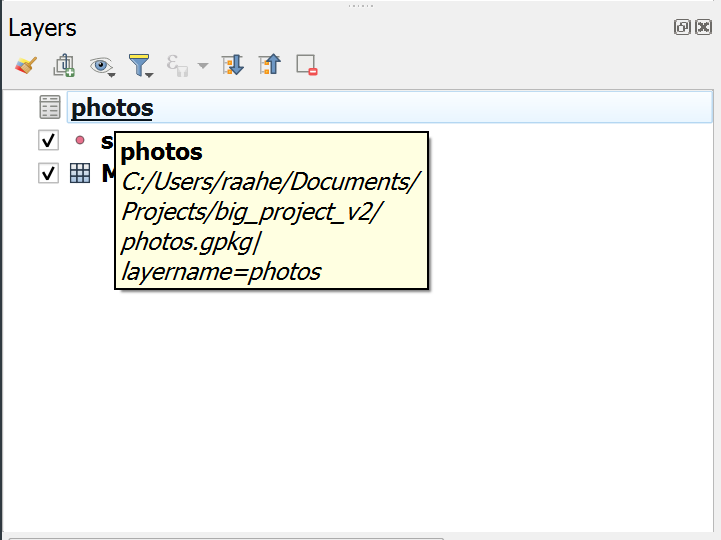
Now we will open the new copy in QGIS, you may wish to rename the .qgz file before doing this to something like big_project_v2.qgz, but it is not necessary. Once the project is opened, we will want to check that the data sources are correct. Most of the time, QGIS will recognise the new directory and update the project .qgz file automatically, but sometimes this does not happen. To check the data source paths in the project, hover over each layer in the Layers panel and see that the location in the tooltip matches the new project directory. In this example, we can see that the layer data source is correctly identified in the big_project_v2 folder:
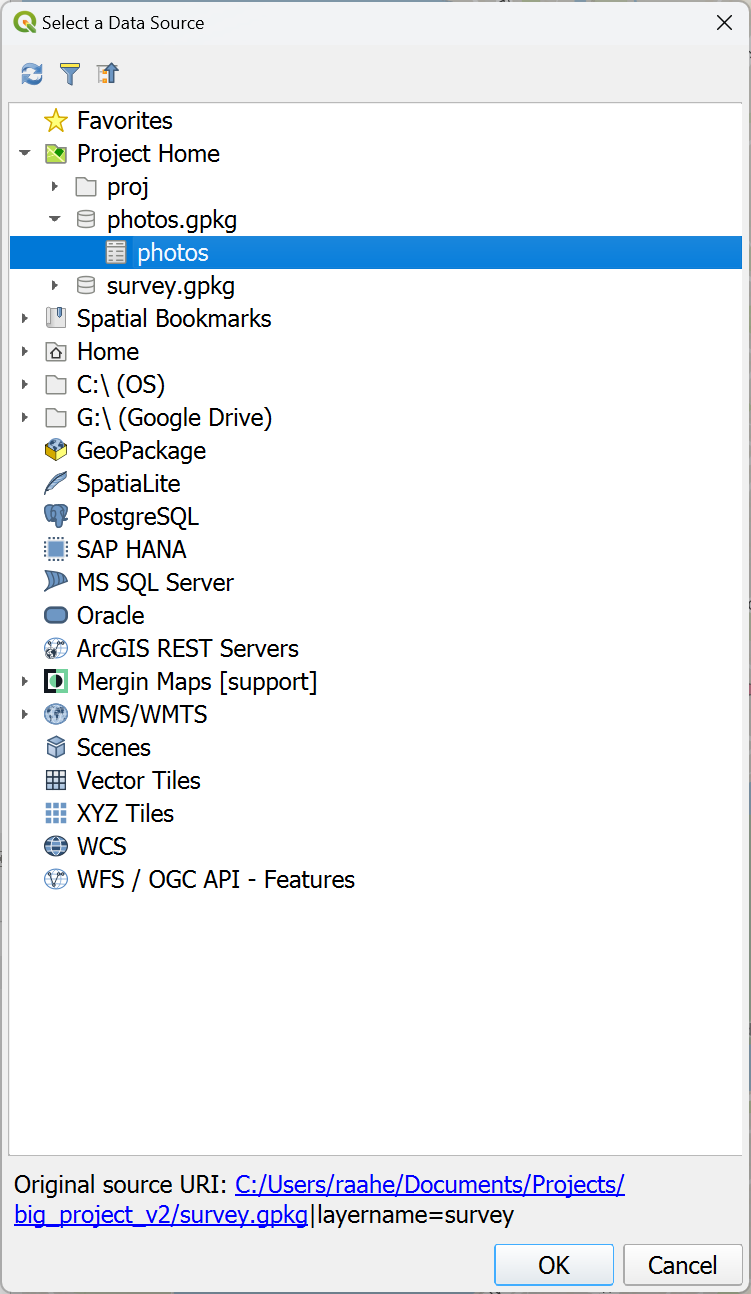
If you notice that any of the layers are not identified correctly in the new folder you can easily change the setting in QGIS. To do this, right-click on the layer and choose Change Data Source. In the popup window, click Project Home>layer_filename.gpkg>layer_name and click OK to set the data source to the new location:
Step 5: Check that all of the data is correct
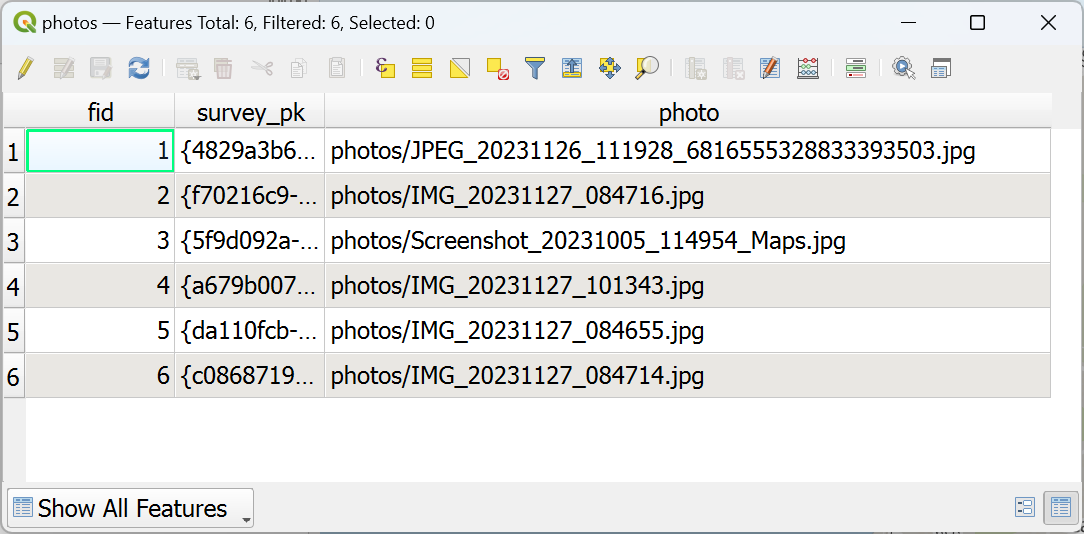
Open the attribute tables and check that the data has all been correctly retained after you moved the project to the new location. All of the data should still be there but you might want to check. We can see in the example below that our photos layer table still has the filepaths to the original photos stored in the table. While we won’t be able to see the photos in the app, you could make a master copy of the project by copying all of the previous photo files into the photos folder. However, we don’t want to do that now because then all of that data would be uploaded to the new project.
Step 6: Make any other desired changes to the project before upload
You might have noticed some things about the project that you would like to change. This would be a good time to make any such changes before uploading the project. Maybe you want to set some additional constraints to certain fields in your field survey or set up a dedicated folder to store all of the photo attachments if you hadn’t done that in the previous version. However, making changes to the data schema might add complications if you want to combine all versions of the project at a later date to make a master copy of the completed project so you will want to consider if this is something that you want to do.
Step 7: Upload the new project to Mergin Maps
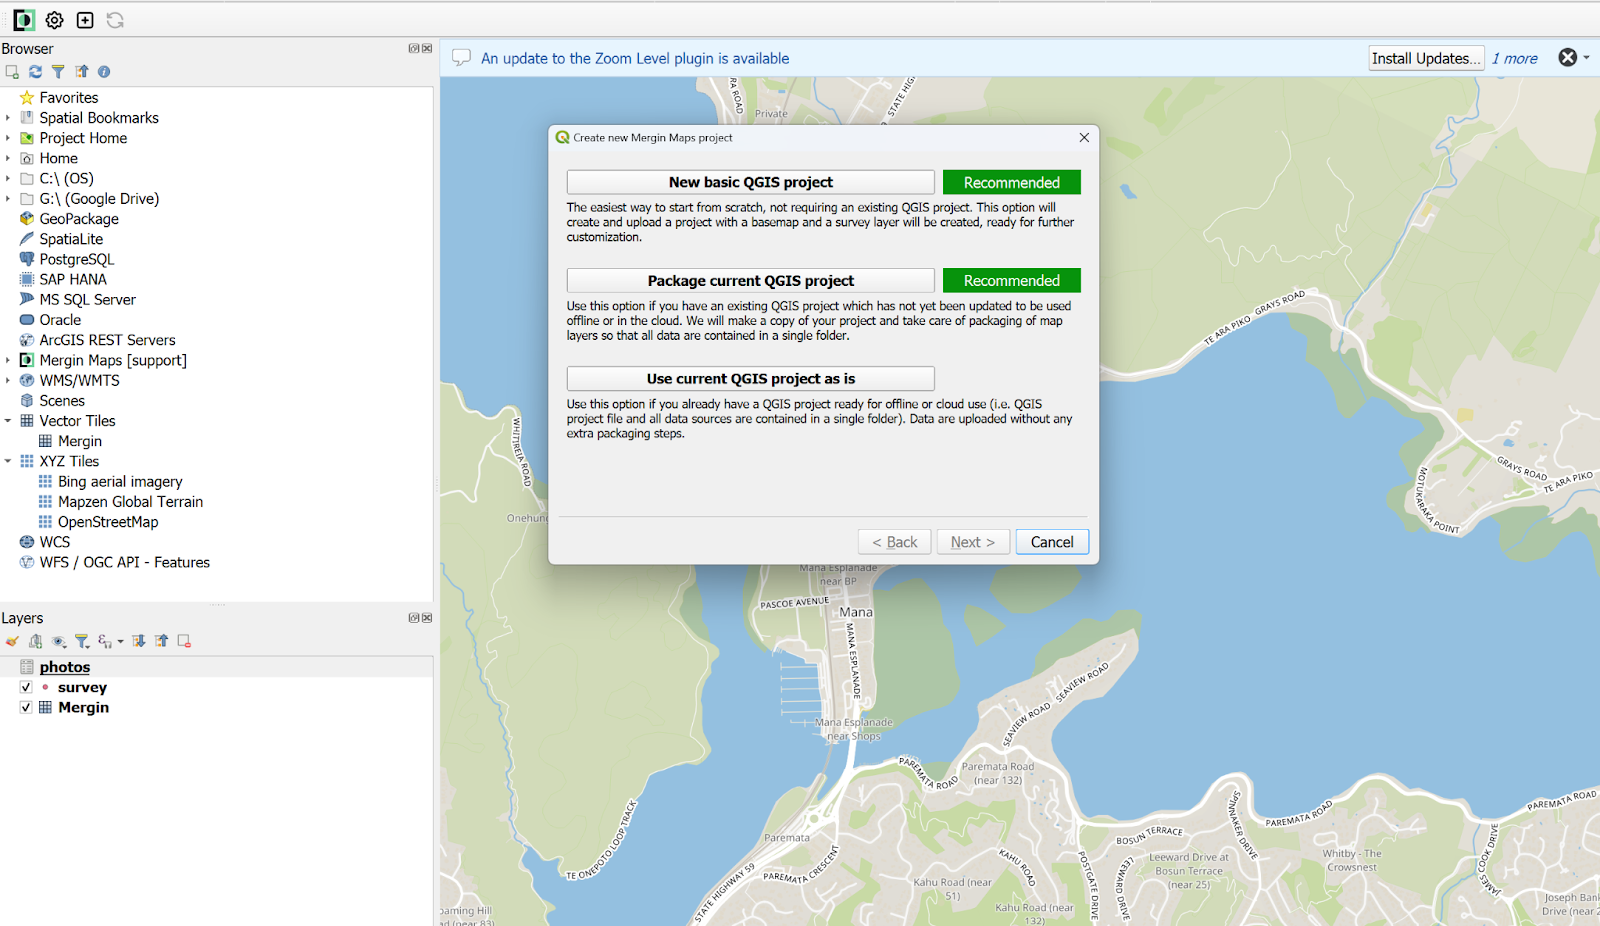
Once you have the new version of the project the way you want it to be set up, it is now time to upload the new version to the Mergin Maps server. You can use any of the methods for creating a new Mergin Maps project from an existing QGIS project, but we would recommend using the Use current QGIS project as is option since everything is already stored in the same project folder. When you are prompted to name your project, make sure to use a different name from the name of the first version, this can be something simple like adding a v2 to the end of the project name. Once your project is uploaded, make sure that the project contributors all have the necessary permissions to access the new project and that they download and use this version from now on.
Other tips for managing large projects
Now that your project has been refreshed, you might want to consider some other options to manage the size of the project. We often recommend:
- Using selective sync if it is not necessary for field workers to access files uploaded by other contributors as this will save storage on their individual devices.
- Limiting the size of photo uploads to the project. Even setting the project to limit uploads to ‘High quality’ photos will help retain detailed photos but avoiding photos from getting too big as some newer devices will create very high resolution images that are over 10MB each!
- If all of your surveyors are using Android devices, you can load large background map files directly to the devices so that you don’t have to store the files in your Mergin Maps Workspace. Unfortunately iOS does not support storing external files in the app storage in this way.
As always, be sure to follow our best practice guidelines for project management to avoid many other potential problems.

